The fall season has arrived, and with it, probably the temptation to rock a blowout. However, with all the buzz about heat damage to hair these days, the hesitancy to apply heat to hair is widespread.
Fortunately, there are ways you can use a hair dryer and still achieve little to no damage to your beautiful curls. If you’re ready to learn more about the best way to blow dry curly hair, read on down below, love. We’ve got lots to share with you!
1. Pick the Right Hair Dryer
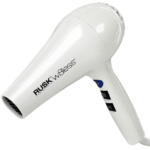
More often than not, choosing dryers without paying attention to details is what causes damage to hair, because the type of hair dryer you choose for your curls matters. Below, we’ve listed 3 aspects you’ll want to make sure your hair dryer has before using it on your curls:
- Choose a dryer that has a range of options for temperature.
- Make sure it is made out of tourmaline and/or ceramic materials.
- Look out to make sure it comes with attachments, as these will be handy.
We’ve reviewed and tried many dryers and here, you can read about the 3 Best NuMe Hair Dryers for 2021 to see if one catches your eye.
2. Deep Conditioning is a Must
The fact is, taking a blow dryer to your hair will take a toll on your strands. It does so by taking out the moisture needed by your mane to prevent frizz and stay hydrated. Fortunately, you can take steps to best-prepare your hair for the heat by deep-conditioning your hair.
After washing your mane, apply a deep conditioning treatment and let it get absorbed by your strands before rinsing it out. Then, using a detangling comb, smooth out as many tangles as you can. This may seem tedious, but the more preparation you do with your hair before drying it, the less damage will occur.
3. Minimize Dampness
If you’ve used a straightener or blow dryer before while short on time, you probably know just what frying hair smells like. This happens when we apply heat to wet strands. This is a big no-no if you want to minimize the damage to your curly hair.
Instead, you’ll want to use a t-shirt to remove as much excess water as possible. After this, allow time for your strands to air-dry. At least 60 to 80 percent dry is a good range to follow. Of course, also make sure to have applied a deep conditioner so that you can still style it easily once it loses some of the moisture it had prior to heat-drying.
4. Apply Heat Protectant
After making sure your hair is mostly dry, the next step you’ll want to take is applying a heat protectant. These can come in both cream and spray forms. This is a very necessary step due to the fact that when your hair is dry, your cuticles are open and when heat hits those open cuticles, they are more susceptible to damage from the heat.
However, when you use a thermal heat protectant, it protects your cuticles and minimizes damage. If you have fine strands, stick to a spray rather than a cream. Alternatively, thick-haired beauties can benefit more from cream protectants.
5. Follow up with Oils
The golden tip you’ll want to follow when it comes to learning how to dry curly hair is: sealing your ends. This is crucial because your ends are not only the oldest parts of your hair, but they also need moisture so they don’t split when the heat hits them. Be sure to apply it at the same time that you’re deep conditioning, then let it sit for 10 minutes before using your hair dryer.
Also, avoid using any oil on your mane once you’ve begun drying it because wet oil and heat are exactly the ingredients needed to fry hair. Instead, if you’re looking for a little shine, apply some after you’re done completely drying your beautiful strands!
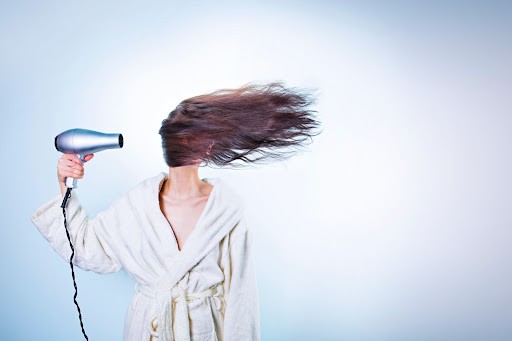
6. Blowdry
When you’ve completed all the necessary preparation, it’s time to blowdry. Rather than blowing your strands all willy nilly, it’s important to approach the process with technique. Be sure to section your hair into 4 to 6 parts, as this will make it easier to dry your mane without tangling it. If you choose to forego an attachment, utilize a round brush as you dry your hair, working it up from the bottom of your strands. You’ll want to roll it up and pull it straight, sort of simultaneously.
Conclusion
With that, you’re done, love! We hope we’ve provided you with the information you were looking for and we wish you luck with drying your luscious, curly locks!