Setting Powder can be a gamechanger for makeup looks. Every makeup artist has setting powder on hand even if only for a case of emergency. So how do you master setting powder applications? Glad you asked. Setting makeup with powder has been a common trend for quite some time, but many people are not applying it correctly.
Lucky for you, I have studied up and tried out the best application methods to give a full step by step guide on how to apply setting powder. This is not something set aside for makeup experts only! Anyone can do it. Let’s get started.

What You Will Need
First things first, to execute the look, you need the right supplies. To start off, translucent powder. There are loads of different brands of translucent powder, but some work better than others. Give time to find the perfect match for you. There are a few guidelines to look for.
Is it cakey?
Does it add too much product onto your face or simply create the matte look? A lot of thick powders end up looking overdone or caked on so be sure to watch out for this.
Is it clear?
Translucent powder is what we are after, not powder foundation. Translucent powder will be white no matter what your skin tone is, and shouldn’t add any color onto your face. If you do have a foundation powder, this can ruin the contour you are trying to create and come off cakey.
These are the top two features to look for. Certain companies have perfected this more than others, but there are affordable and more expensive options that get the job done.
The other item you will need to correctly apply setting powder is the write tool. There are a few options for this as well.
1. Beauty Blender
Beauty Blenders are the best way to apply setting powder. Their absorbent qualities allow for the perfect amount of powder each time. They also are shaped so that the typical areas setting powder is applied mirrors the brush’s natural shape. The only downside of beauty blenders is that they don’t wipe off setting powder, so you will need another tool.
2. Brush
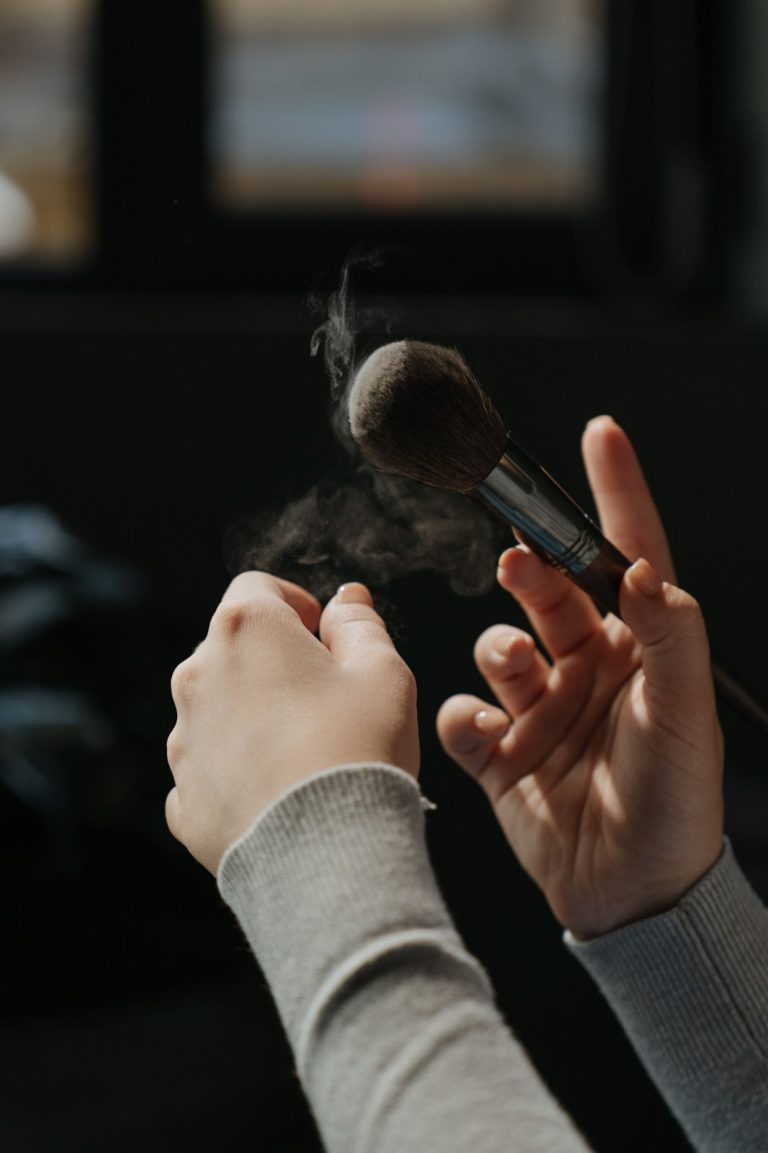
A brush is always a smart choice when looking for a setting powder tool. Even with a beauty blender, using a brush to wipe off excess setting powder does the best. If you are going to solely use the blender, this can create a lot of fall out, but it is much more convenient to use as one product compared to multiple.
3. Pad
Makeup pads often come with a translucent powder. While this can be a tool to use, it is the least effective and the one I would steer away from. Pads are too large to correctly apply powder to a specific area. Plus, they are not absorbent, so it can be difficult to grab the amount of powder you want to set.
Where to Apply Setting Powder
Next on the list is what areas to apply setting powder to. For most people, certain areas are oilier than others, so you do not need to apply setting powder to the entire face. The rule of thumb is to apply setting powder:
- – Under the eyes
- – Lower lines of cheekbones
- – T-zone
-
These are the most common oily areas, but use your own judgement to find your personal oily patches. The goal of setting powder is to create a matte look, so anywhere with oil will defeat this goal.
How to Apply Setting Powder
Now that we know what tools we are going to use, we can focus on how to apply them. Once again we will go over the three tools and how to use each:
1. Beauty Blender
When it comes to a beauty blender, you can’t go wrong. Make sure to wet the beauty blender and squeeze all the excess water out. Then dip the beauty blender in the powder and it does the work for you. Apply the beauty blender to select areas. This tool works especially well under the eyes and the lower cheekbones. Let the powder set and grab a brush to wipe off the excess.
2. Makeup Brush
A makeup brush will need a few more taps in the powder. Gently pat the brush along the selected areas, not brush over the areas. You want a noticeable white overlay of the powder. Continue grabbing powder until you see this. Give the powder time to set and brush the excess off with the makeup brush.
3. Makeup Pad
Lastly, applying with a makeup pad can be versatile. Depending on the style of pad that comes with the powder or your personal favorite makeup pad, it can pick up lots or very little powder. Dip one end of the pad into the powder and sculpt the pad to create a crescent or half circle. Use this to apply the powder to your selected areas. Give the powder time to sit and wipe off the excess.
Conclusion
It is important that no matter what method you decide, to allow the powder to set (hence the term setting powder). This will take 5 to 10 minutes, so utilize this time to do the rest of your makeup. Now that you know all about how to set makeup with powder, experiment with your next makeup look!


