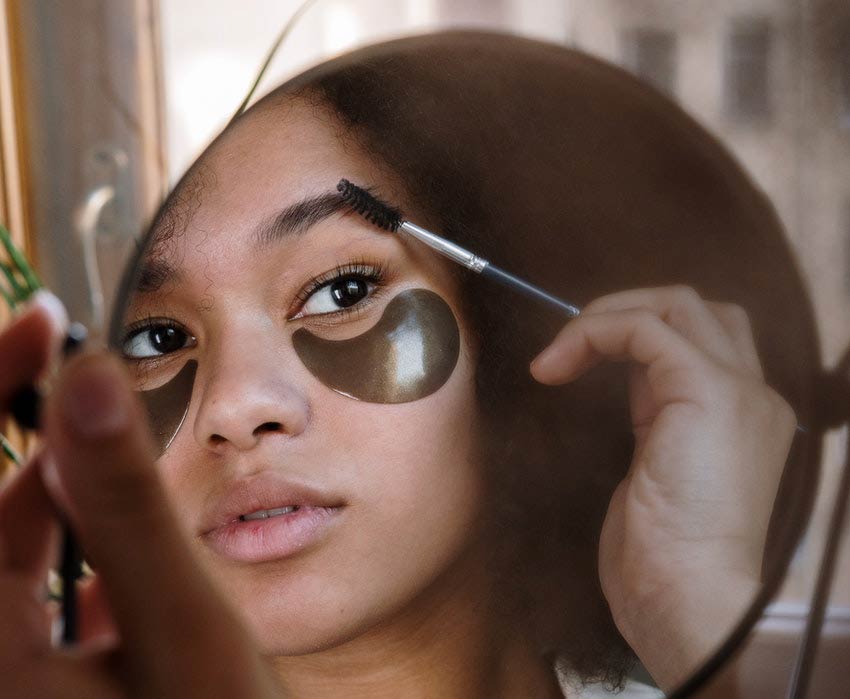
As trends change, overplucking runs rampid causing major hair loss, and technology advances, there are more and more ways to fill your eyebrows in. While each has their own benefits, today I am going to talk about eyebrow tinting and why this might be the best option for you. This method is a great in between from long term options such as microblading without requiring everyday application such as using an eyebrow pencil to fill in your brows.
There are a few different ways to dip your toe into the world of eyebrow tinting. Some get it done professionally while some take a stab at it themselves. Unlike most DIY options, home eyebrow tinting isn’t necessarily a bad idea. Just be prepared to push through the learning curve the first try.
Lucky for you, I am going to explain eyebrow tinting to the fullest extent and give you a guide on how to try it out for yourself. Let’s get started

Eyebrow Tinting 101
Brow tints are quite simple in theory. It dyes your eyebrows to create a fuller looking brow. It also can dye the skin to help give a desired shape in areas that your hair isn’t growing. Eyebrow tinting lasts around a month give or take.
While this is still something that has to be reapplied, it can be a huge change from those who spend 20 minutes on their eyebrows every morning. Set one day of the week aside and wake up with your ideal brows every morning.
Is eyebrow tinting safe? There is a bit of debate over this. Like anything, working close to your eye raises risk. However, the biggest concern with eyebrow tinting is the likelihood of irritation or accidental eye contamination. If you go into the process with these concerns at the forefront, you should be just fine.
While you are getting dye close to your eyes, it is no comparison to the risk for options such as microblading which use dye and blades. Much more risky in my opinion.
How to
Application is all about shaping, so if you have mastered this with an eyebrow pencil, this will be a lot easier for you. Here’s a step by step guide on how to tint your eyebrows:
1. Clean your Brows
As always, you need to clean the area beforehand. I like to use a cotton ball and micellar water to remove any dirt, leftover makeup, and other residue that could deter the result of the brow tint.
2. Find a Good Tint
Finding a good product will make or break your results. Do your research to find a quality option. Luckily, even the higher end options are too expensive, so there is no need to try and save a buck on subpar options. You may need to try out a few options before you find the perfect match in quality and color.
3. Apply a Generous Amount
Normally, less is more. However, in this case, it’s good to have a decent amount of tint covering your brow.. This ensures your entire brow is getting dyed evenly. We’ll remove any excess in the next step, so be generous with your application.
4. Shape with a Q Tip
This is what I have found to be the most effective. You need to be quick with this part of the process. After all, it will dye your brows quickly. Create your ideal shape with your Q tip, removing any excess. Keep your Q tip clean to prevent smudging. This will take the most skill of any other step, so practice beforehand and keep your goal in mind. This is not a situation where you want to wing it. It’s your eyebrows we’re talking about.
5. Wait then Remove
Let the tint sit on your brow for about 15 minutes. Be sure to read your specific product to confirm the time. Grab an old rag and wipe away the excess to reveal your freshly shaped brows! You can use a cotton ball to remove any stubborn dye and clean the entire area.
There you have it! Not so bad, no? Next time you are looking for a change or get tired of filling in your brows, give eyebrow tinting a shot. Once you come to the dark side, there’s no looking back.


