Beauty sponges blend products into our skin effortlessly without any streaks. This makeup tool can be used anywhere from applying liquid foundation to applying a tinted moisturizer or contouring the skin. It’s a versatile tool that will have you reaching for your makeup brushes less and less.
However, while it may look simple to use, there is a right and wrong way to use one. If you’re wondering whether you’re using your beauty sponge correctly or have never used one in your life, you’re not alone.
Read on for a crash course on how to use a makeup sponge – the right way!
Step 1: Choose Your Sponge
First things first, you want to invest in a makeup sponge that will work wonders for your skin. They come in several shapes and to be honest, you can’t really go wrong with your pick, as long as you know how to use it.
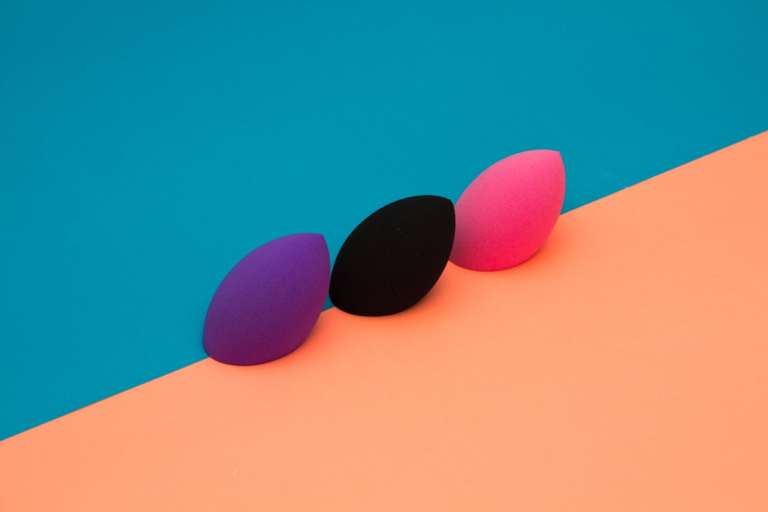
Common shapes you’ll come across include:
- – The Classic Teardrop. Millions of makeup artists use this egg-shaped sponge. It doubles in size once wet and is great for applying anything from foundation, cream, or gel. The pointed area is for those harder to reach spots.
- – Teardrop With Flat Edge. This design looks like someone got hungry and bit the sponge. However, there’s a reason for this madness! The flat edge is what makes it a multi-use tool. While the rounded side is ideal for the makeup application of foundation, the flat side is for contouring the skin with creamy products.
- – Triangle Design. This type is one of the oldest generations of beauty blenders. They are disposable, making them perfect if you’re always on the go or don’t like to clean your sponge after every use. They are the cheapest of the bunch, however, buying them frequently can add up.
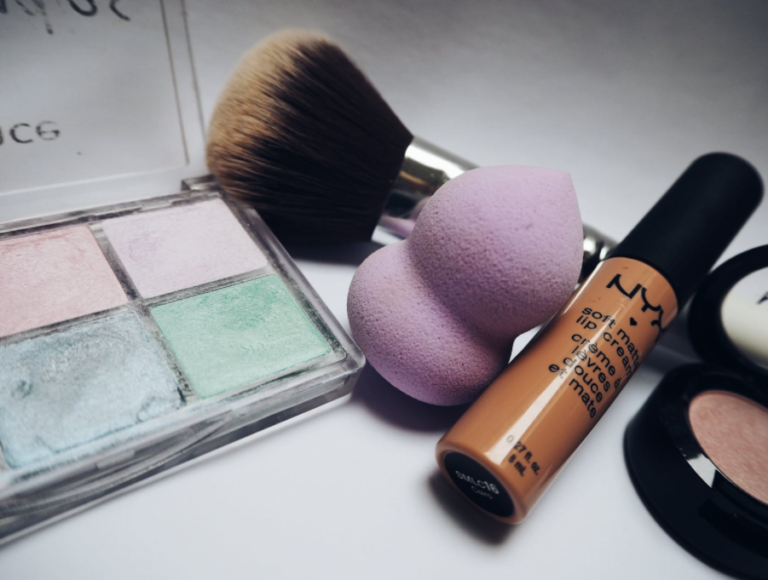
- – Hourglass Design. This curvy makeup sponge offers a more precise application. If you grab it from the round bottom, you’ll have a softer application. Holding it from the ridge offers a more intense application.
-
Step 2: Wet Your Sponge
Immerse your sponge in water for about 10 seconds. Wring out any excess moisture and it’s ready to use! Wetting your tool before using makes sure your product doesn’t get soaked up. A dry sponge is super absorbent, so wetting it causes it to expand in size, saving you from wasting any product. The added moisture, also makes the application more even and streak-free.
Step 3: The Three D’s
There are three D’s you need to keep in mind when using a makeup sponge:
- – Dampen
- – Dot
- – Dab
-
By this point, your sponge should already be damp. You want to dot foundation onto your face starting with your cheeks and working your way down the T-zone. Some people like to dip the sponge into the foundation and then gently press it onto the skin.
Once your product is on your skin, dab the sponge on your face to blend in your base. You want to use a “stippling” motion. Bounce the sponge in tiny movements all over your skin until it’s entirely and beautifully blended. If your sponge has a pointy edge, use this for hard-to-reach areas like around the nose or under the eye area.
Remember that the larger side covers more surface area while the smaller sides are for smaller sections or harder to reach places. Applying makeup with a sponge is made easy as long as you keep the 3Ds in mind.
Things To Avoid
There are a few things you should avoid doing at all costs.
For starters, don’t ever use a dry makeup sponge to apply foundation. It will eat up most of your product, leaving behind little to work with. Instead, wet it underwater for about 10 seconds, squishing it here and there. Once it’s fully saturated, wring out excess water, and you’re ready to go. Doing so will give you a more natural finish and won’t soak up more foundation than necessary.
One other thing you should never do is drag the makeup sponge across your face. It may be hard to break this habit if you’re coming from using a foundation brush. However, dragging won’t give you that effortless airbrushed look we’ve all come to love. It will leave behind streaks, and tugging at your skin with the sponge may irritate it. Instead, dab the product into your skin to create a seamless finish.
Cleaning Your Makeup Sponge
The only downfall about using a sponge is that you have to clean it after every use. Doing so will keep the dirt, grime, and dust away. There are fancy cleaners you can use; however, mild soap will do the trick.
- Run the sponge under warm water.
- Add a few drops of soap.
- Massage out the stains until water comes out clean.
- Remove any moisture by rolling onto a clean towel.
- Lay it out to dry.
Note: Skincare is just as important as taking care of your beauty sponge. At the end of the day, thoroughly cleanse your face to maintain healthy-looking skin.
Final Thoughts
Always remember the 3Ds: dampen, dot, and dab. These three steps will get you well on your way to beautiful skin with a flawless finish. Beauty sponges are excellent alternatives to using your fingertips. Applying makeup with a sponge creates hard to achieve streak-free finishes. Once you learn how to use a makeup sponge, I guarantee your makeup routine will never be the same!
