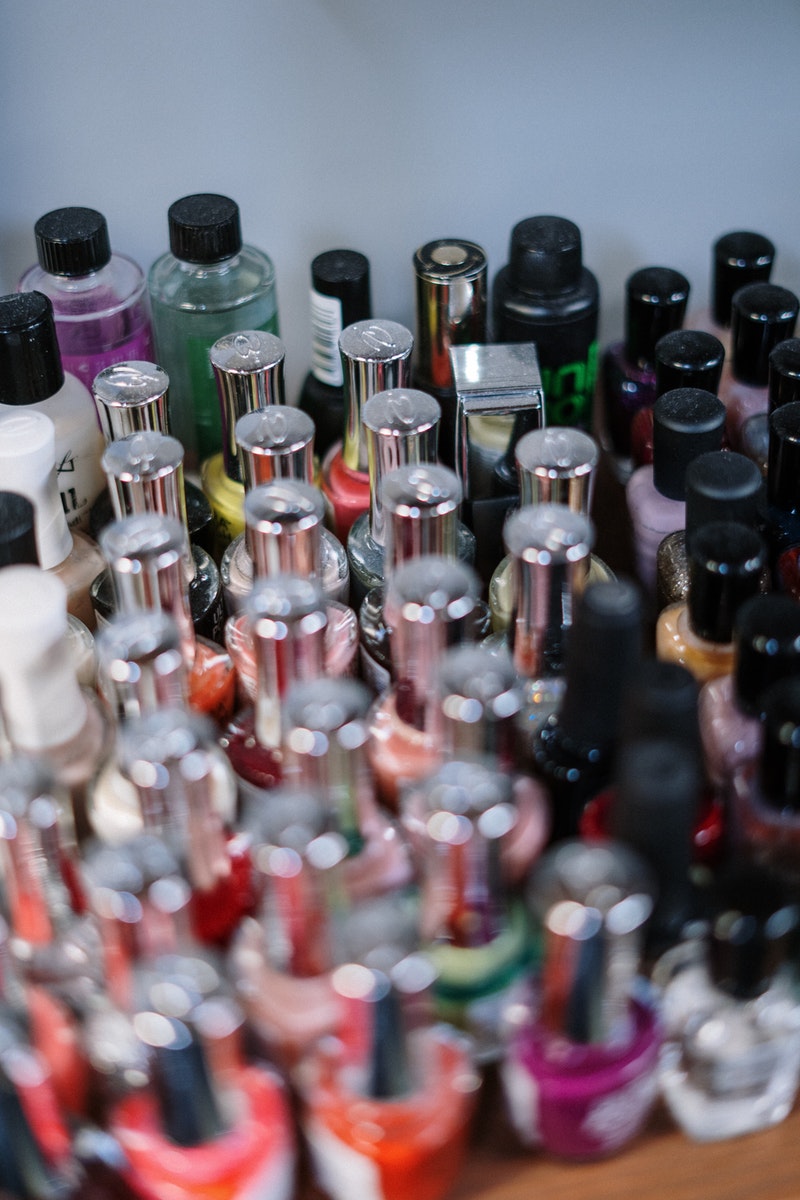
Whether it’s a high end bottle of nail polish that we don’t want to go to waste or an old bottle we found from our childhood, there is nothing more upsetting than realizing that the bottle has turned thick. However, unlike you might assume, there is still hope for your nail polish. Today, I am going to show you how to thin out nail polish so that you can use that bottle for years to come.
Diluting nail polish is relatively simple. All you need are a few supplies and the proper step by step routine. Lucky for you, I have a handy list ready to share.

1. Determine if this is a one time fix
If you are going to be diluting multiple bottles of nail polish, you might want to invest in an actual nail polish thinner. This is only around ten dollars and can be a great fix for all of your bottles that will have the best results and last for a while. However, if this is a one bottle fix, there are other options that are free. They are a bit riskier, but can work well enough to get a good use of the bottle.
2. Nail Polish Thinner
Now that you’ve determined your route of choice, let’s talk about each option in a bit more detail. Like I said, the nail polish thinner is specifically made for this purpose. All you need to do is add 3 or 4 drops into your bottle and watch it do it’s magic. Let it set for a second, close the lid, and shake thoroughly. You should see a significant change in consistency immediately.
You can find a nail polish thinner at most beauty stores or even your local super store if you’re lucky. I will always recommend this option first. Why not invest a tiny bit of money to have this whenever you need it?
3. Hot Water
The DIY option only needs some hot water and luck. This won’t fix the issue completely, but it will thin out the polish so that you can use it. It also won’t damage the bottle, so you can do this each time if you’re really lazy. All you need to do is pour a bottle of hot water into a bowl and let the polish sit in it for a few minutes. This should dilute the nail polish enough for you to apply it like normal.
You can also roll the polish in between your hands if it is not an extreme case.
4. Nail Polish Remover
This is a trick that you might have heard of before, however, don’t trust everything you read on the internet kids (except for me of course). Nail polish remover may work for the one time use, but it will only make the issue worse in the long run. If you are trying to save the bottle, toss this trick out the window and don’t look back.
How to Prevent This
Now that our crisis is averted, is there a way to prevent our nail polish from thickening in the future? There sure is. There are a few small things that can add up and make a real difference for prevention.
1. Close the Lid
While you need to be shutting the nail polish bottle tightly after you are finished anyway, try keeping the bottle shut as much as possible, even when you are using it. One of the main factors of thick nail polish is from the air drying out the polish. The only way to prevent this is to keep the bottle shut. So when you have it open, work fast.
2. Keep it Out of the Heat
Another lead reason for thick clumps is heat. Try keeping your bottle in a cooler area, such as a closet somewhere in the home’s air conditioning. This means no attics or rooms prone to major sun exposure. This simple switch can save your entire batch of on hand nail polish.
3. Keep the Bottle Up
Lastly, try to keep your bottle upright while you are storing it. This means not tossing all your polish in a bin and calling it a day. The small neck of the bottle can be a danger zone for clumps. You can also help prevent this by cleaning the bottle after ease of use. If your nail polish is anything like mine, the neck of the bottle gets pretty dirty.
Knowing how to make nail polish less thick is a great tool to have in your back pocket in case of emergency, so whether you use it now or in 5 years, you’ll thank me one day!


